Create Your Blog with Hugo's Static Site Generator
Table of Contents
Greetings 👋. In this blog post we will cover;
- What is a static site generator
- Intro to Hugo
- Using a free Hugo template to generate your blog
Alright let’s get right into it!
What is a static site generator #
A static site generator or SSG is defined as being
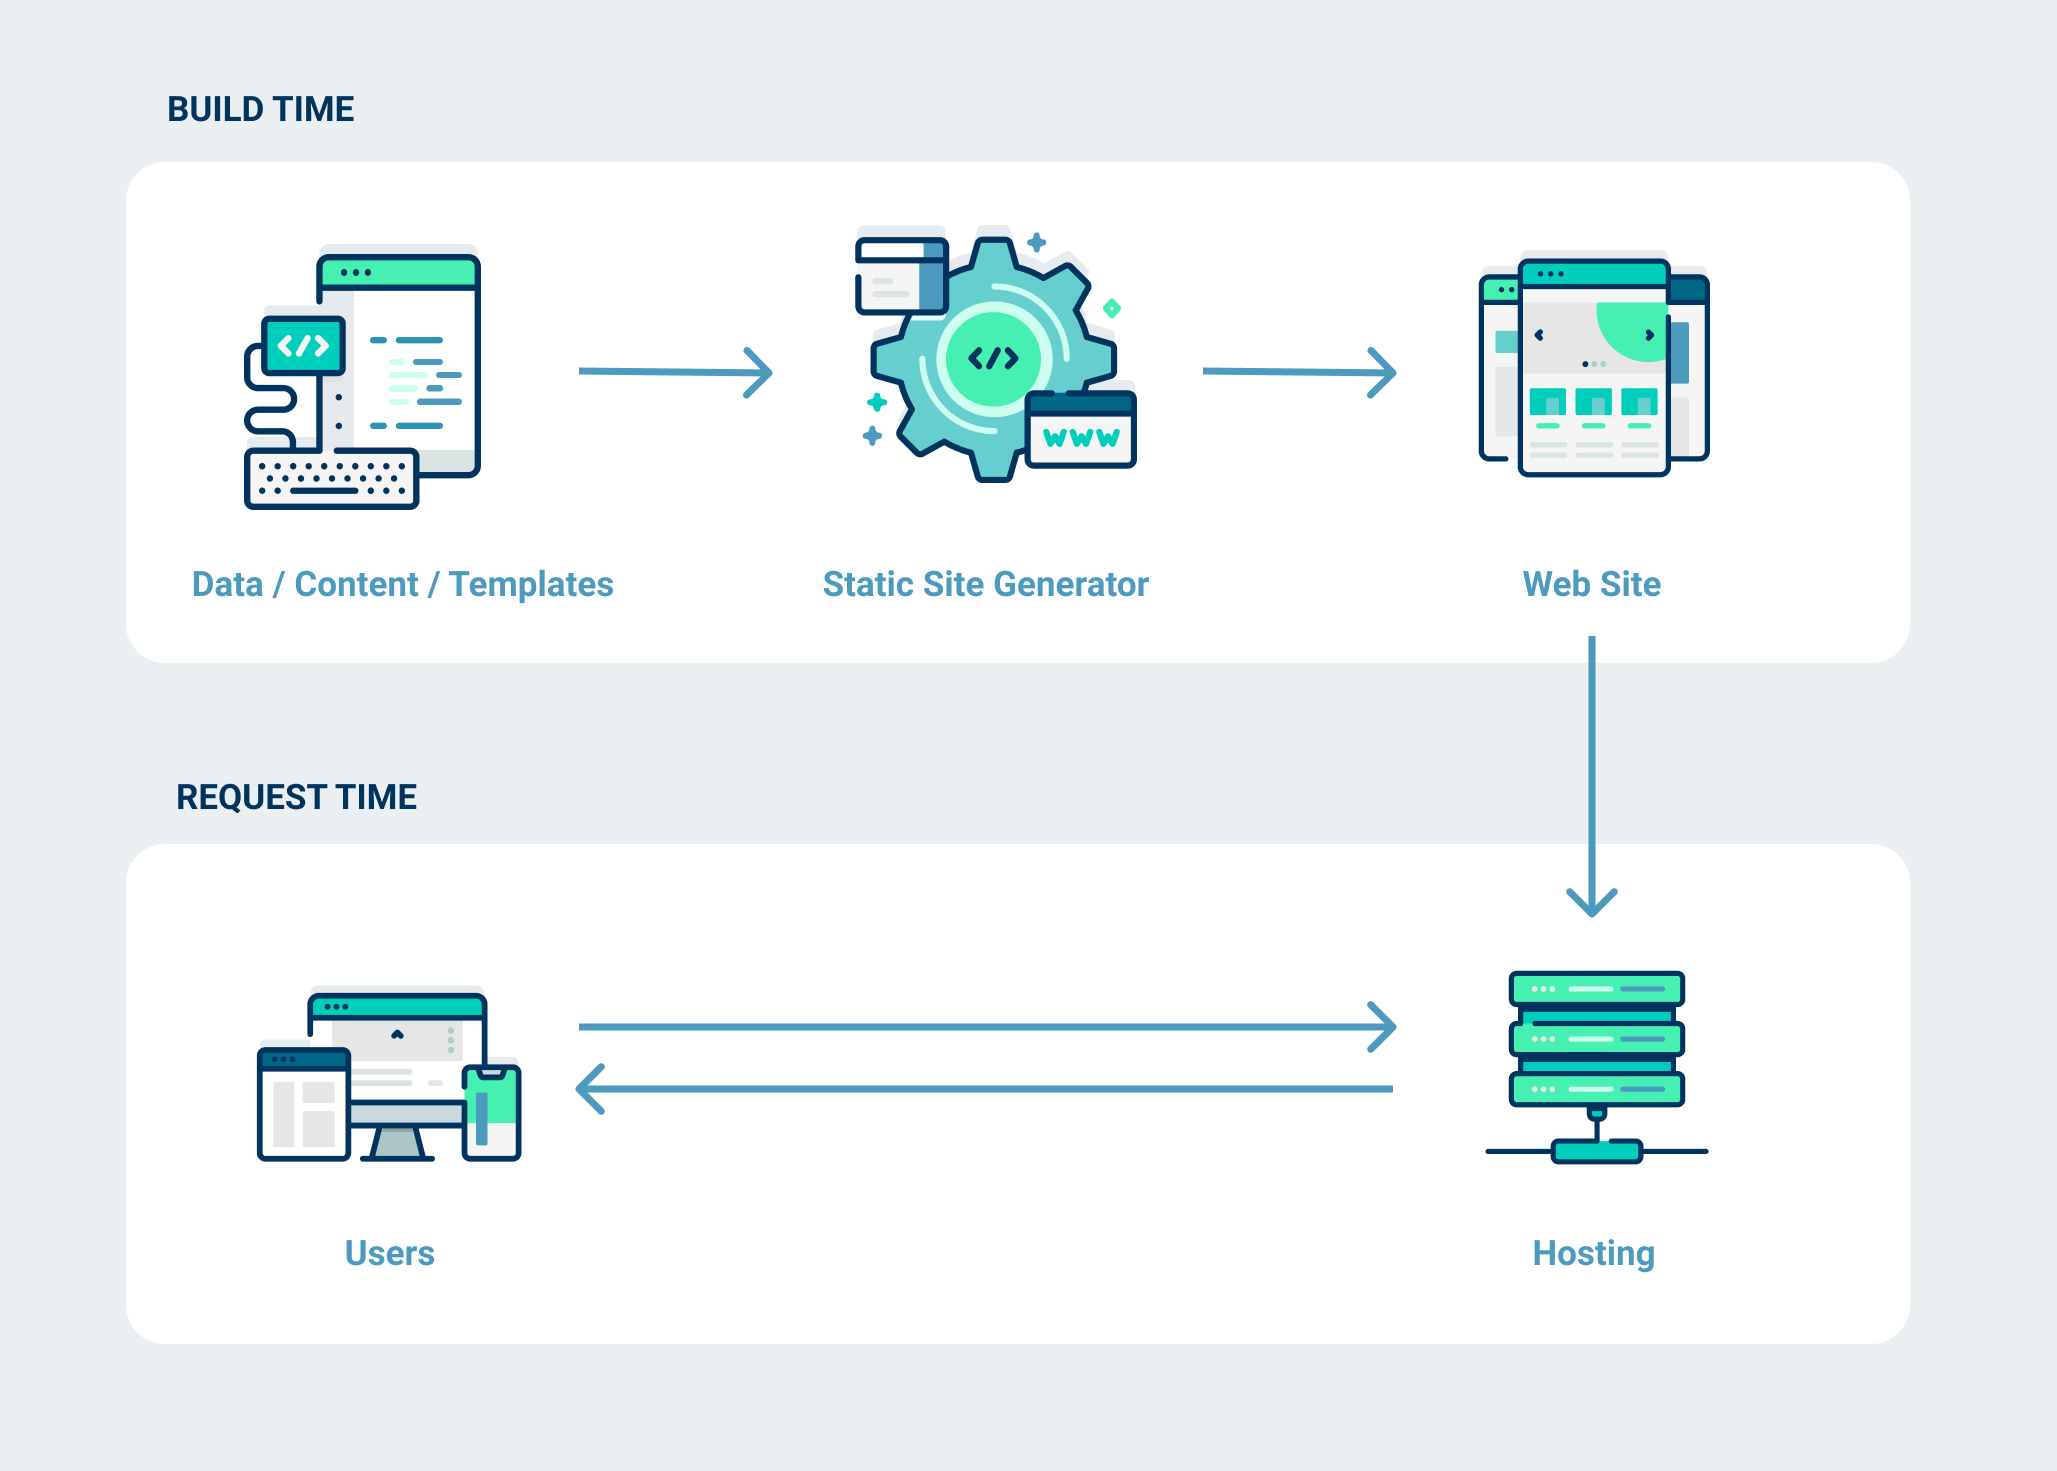
A script which takes in data, content and templates, processes them, and outputs a folder full of all the resultant pages and assets.
Now to break down this definition we can travel back in time before the era of SSG.
In a traditional web server, when a user visits a page the server builds the content of that specific page using the underlying stack like PHP by fetching data from either the database or an API. The server then returns this result to the users browser and voila you have a website. These kinds of websites are referred to as dynamic websites. In contrast we have static websites that have stable content i.e the content viewed by all the users is the same static.
Static site generator therefore take the data provided to them in this case a blog like this one written in either markdown, yaml or any specific format and parse it into a static website.

Why use a site generator? #
There are a couple of reasons but just to mention a few
- Static sites are fast. Since they don’t require a database and they pre-build all the pages, users can access content blazingly fast.
- Ease of deployment. Since these sites are static they essentially don’t need a complicated sever setup
- They are very cost effective. The server resources used are minimal since there is no database and the content is already prebuilt.
- Version Control. Since the entire site is a combination of files and folders, you can leverage GIT to keep track of changes and collaborate with others.
Intro to Hugo #
There are several static site generators out there that you can choose from like Jekyll, Hugo, Gatsby and Next.js In this blog post we will mainly focus on Hugo, which is written in the Golang language.

For the purposes of this demo we will be using a linux machine. I will attach alternative guidelines for different platforms.
To get started, install Hugo as below
sudo apt install hugo
For installation on Windows or MacOS follow the guide here.
After successfully installing Hugo you will have access to the hugo command in your terminal with which you can create your first site
hugo new site myawesomeblog
This command will create a directory, myawesomeblog, in the Hugo directory.
Using a free Hugo template to generate your blog #
Using Hugo comes with the advantage of having access to a variety of free beautiful themes. You can use these themes to make your website. This lets you focus on sharing your content with the world and not dwell to much on designing.
In this example we are going to use a theme called blowfish the very theme used on this site 😊. It uses markdown files for content and yaml for configuration files. It is also very customizable to your preference.

To install this theme we will set it up a submodule in our hugo generated website.
cd mywebsite
git init
git submodule add -b main https://github.com/nunocoracao/blowfish.git themes/blowfish
We are doing this mainly so that we can pull changes from the main blowfish repository in case they ever make important changes to the theme using.
git submodule update --remote --merge
Configuring the Theme #
Blowfish does not constrain you on how to organize your content. An example of how to structure your content is as follows
.
├── assets
│   └── img
│       └── author.jpg
├── config
│   └── _default
├── content
│   ├── _index.md
│   ├── about.md
│   └── posts
│       ├── _index.md
│       ├── first-post.md
│       └── another-post
│           ├── aardvark.jpg
│           └── index.md
└── themes
    └── blowfish
There are numerous ways you can edit the theme to suit your needs read this documentation to find out how.
Run this command to run your website locally.
hugo server
Conclusion #
In this tutorial we covered what static site generators are, we went over examples and specifically targeted Hugo. We got to see how to use a free Hugo theme to implement a blog website and finally we served the website locally. It should be noted that from here you can easily deploy your website with Netlify for free in just a few simple steps.
Friends, that’s it! You can easily setup a website with little to no coding.Reach me on email or any of my social media handles if you have any questions or just want a chat :) I love getting feedback!
